

The coronavirus quarantine has everyone going stir crazy while they’re stuck at home. Whether you’re tired of staring at the same space every day, or you’re itching for a project to fill your time, refinishing your furniture is a great option. It’s far more cost-effective than buying brand new furniture, plus it offers a way to use your hands, keep busy, and create an end-product you’re proud of.
Need some design inspiration to get started? Check out these three DIY projects to make your furniture look new again and see which ideas apply to your home!
Paint
There’s nothing like a fresh coat of paint to spruce up the interior or exterior of your home—and the same applies to your furniture! You don’t need to be a skilled craftsman to make the job look professional, either. Nearly anyone can complete this DIY project at home (but always be mindful of children when using potentially hazardous materials).
The hardest part of the process will be disassembling the furniture pieceyou’re working on. After that though, all you’ll need to do is apply one or two coats depending on the color of wood you’re painting over and the color of paint you’re using. Allow each coat two hours to dry and voila! That drab antique armoire becomes modern chic before your eyes.
Stain
If you want to go a step up from paint in skill level, then staining furniture is your next best move. Staining can bring out the rich color and texture of your wooden furniture pieces but doing so will require a bit more finesse.
First, you’ll need to lay down floor protection and sand the surface because the wood must be smooth and blemish-free before applying the stain—otherwise, the color will highlight any scratches or dings its accumulated over time.
After sanding the wood down until it’s clean, you can use any tool to apply the stain, such as a paint brush, rag, roller, or spray gun. A basic rule of thumb is to apply a wet coat first and wipe off the excess before it dries, then building layer by layer to achieve the look you’re going for. Whether you want to create an aged aesthetic using an antique finish, or transform stark-white furniture into rustic driftwood for a beachy vibe, staining can give your furniture a complete makeover.
Resin
Feel like upping your arts and crafts game? Then explore all the ways you can use epoxy resin to give your furniture a complete makeover. Serious crafters will use resin to create river tables from scratch, but you can definitely work with what you already have to make an existing piece look entirely new.
Resin projects are more involved than painting or staining, so you’ll need to pick up a few products before you get started:
- Equal amounts epoxy resin (Part A) and hardener (Part B)
- Wooden stir sticks
- Plastic quart buckets for mixing
- Color tint (optional)
- Sandpaper
- Leveler to ensure the surface is even
- Blow torch or hair dryer to eliminate air bubbles
Make sure these are readily within arm’s reach before getting started; resin dries very fast, so you’ll need to work quickly. The object you’re working on should be cleaned, sanded, leveled flat,and painted to the color of your choice before you begin.
Double check the amount of resin your project will require (40 oz. is standard for an 8 sq. ft. table) and mix equal parts A and B into a quart container; stir thoroughly for 2-3 minutes and add the tint if desired. Once you pour the resin, spread it out evenly across the table, pushing the product into the recess of all four corners. Use your heat source to get rid of any air bubbles, then repeat the same process 15 minutes later in case any more surface as the resin dries.
You can add detail to create a marbled or layered effect, but the end result will appear as a hard, clear finish compared to the wooden tabletop that once stood in its place.
Final Thoughts
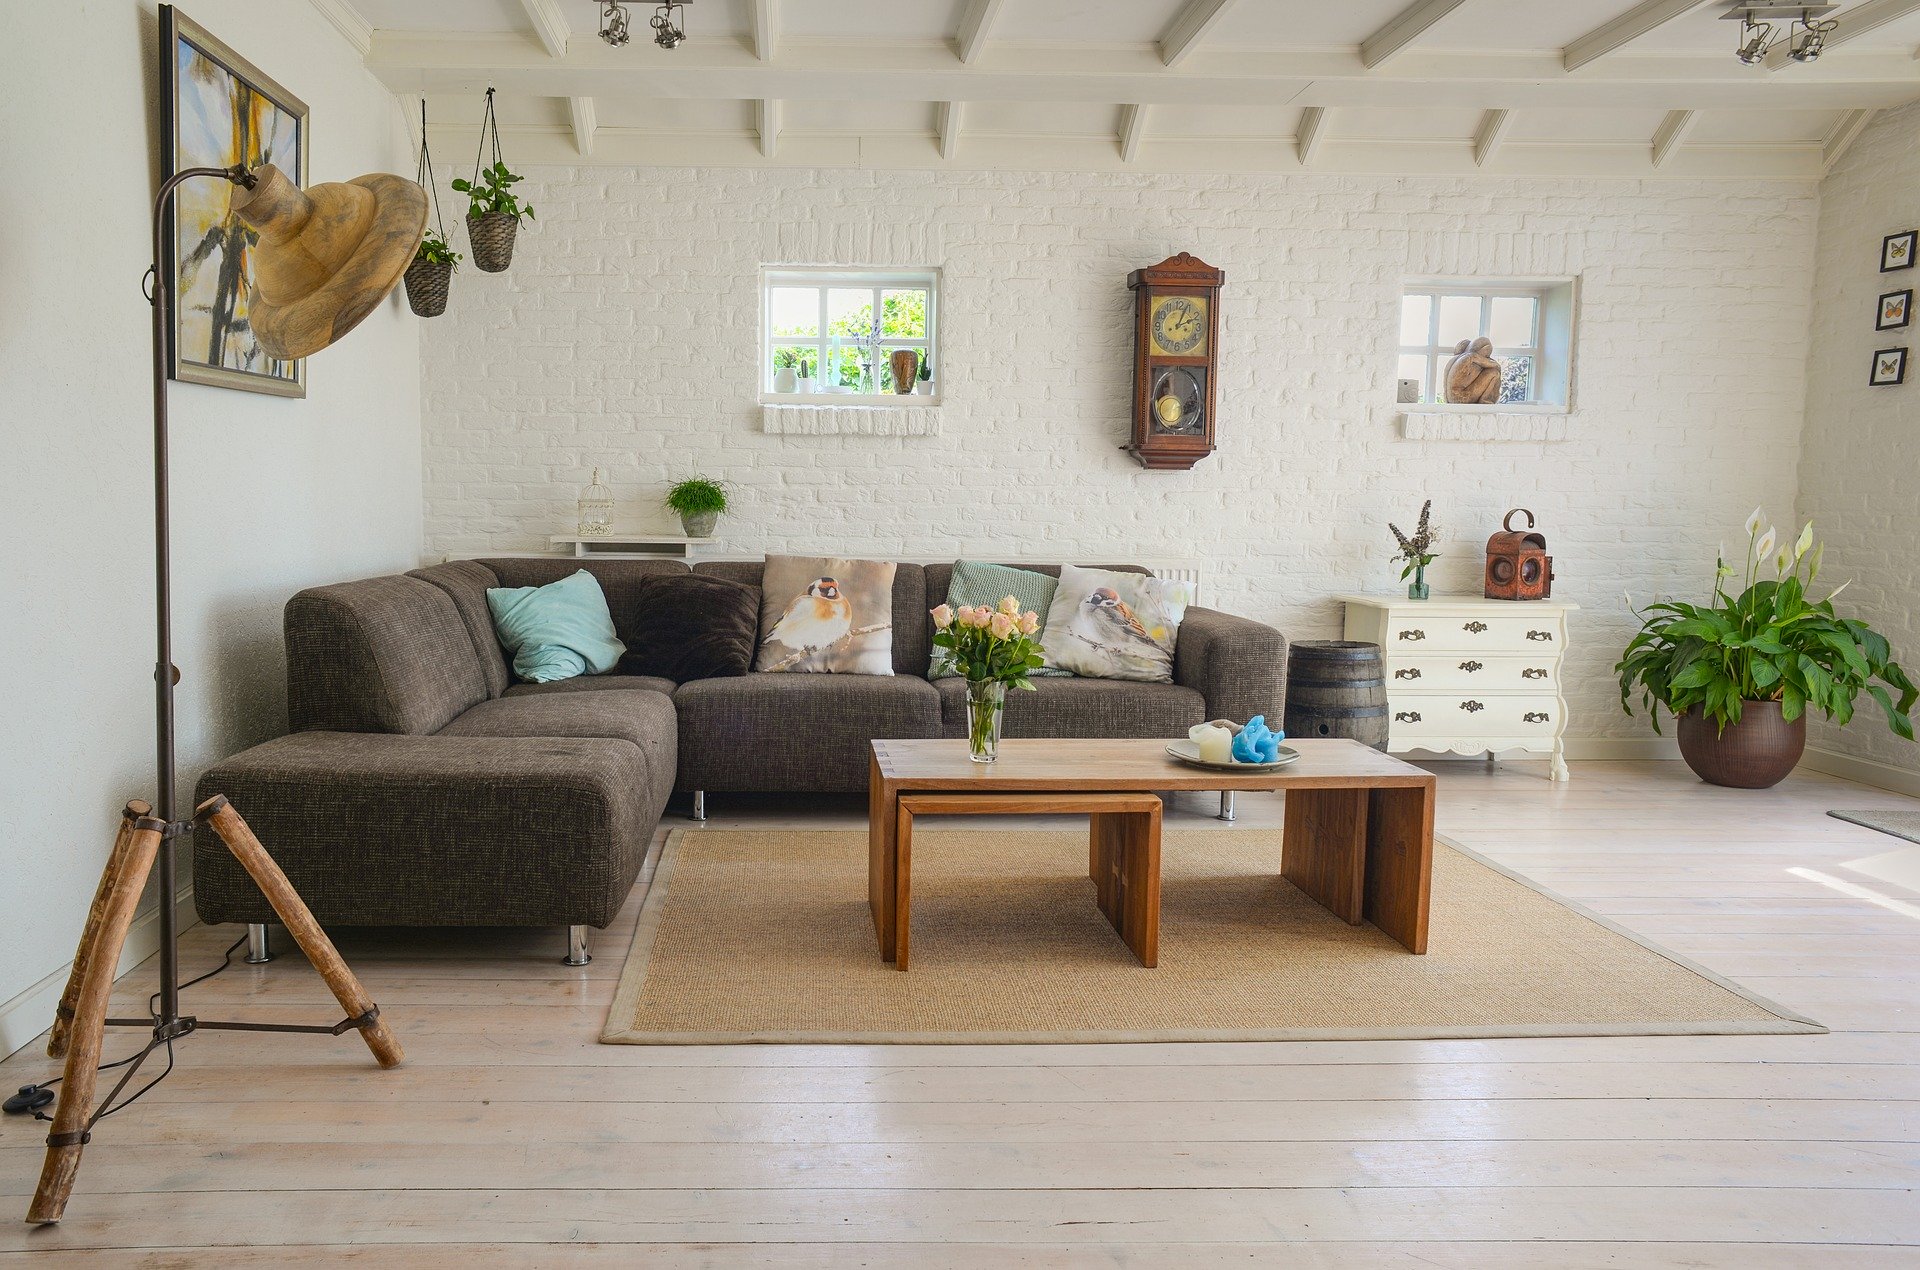
If you want to reinvigorate your space butaren’t interested in taking on the three projects suggested above, there are less time-consuming strategies that can achieve the same effect. A quick polish can make wood sparkle and shine as if it were brand new,and changing throw pillows on a couch can give the room an entirely different vibe. Or, simply rearrange some furniture so that it feels different each time you walk into the room.
The most important thing is to get creative and have fun!