

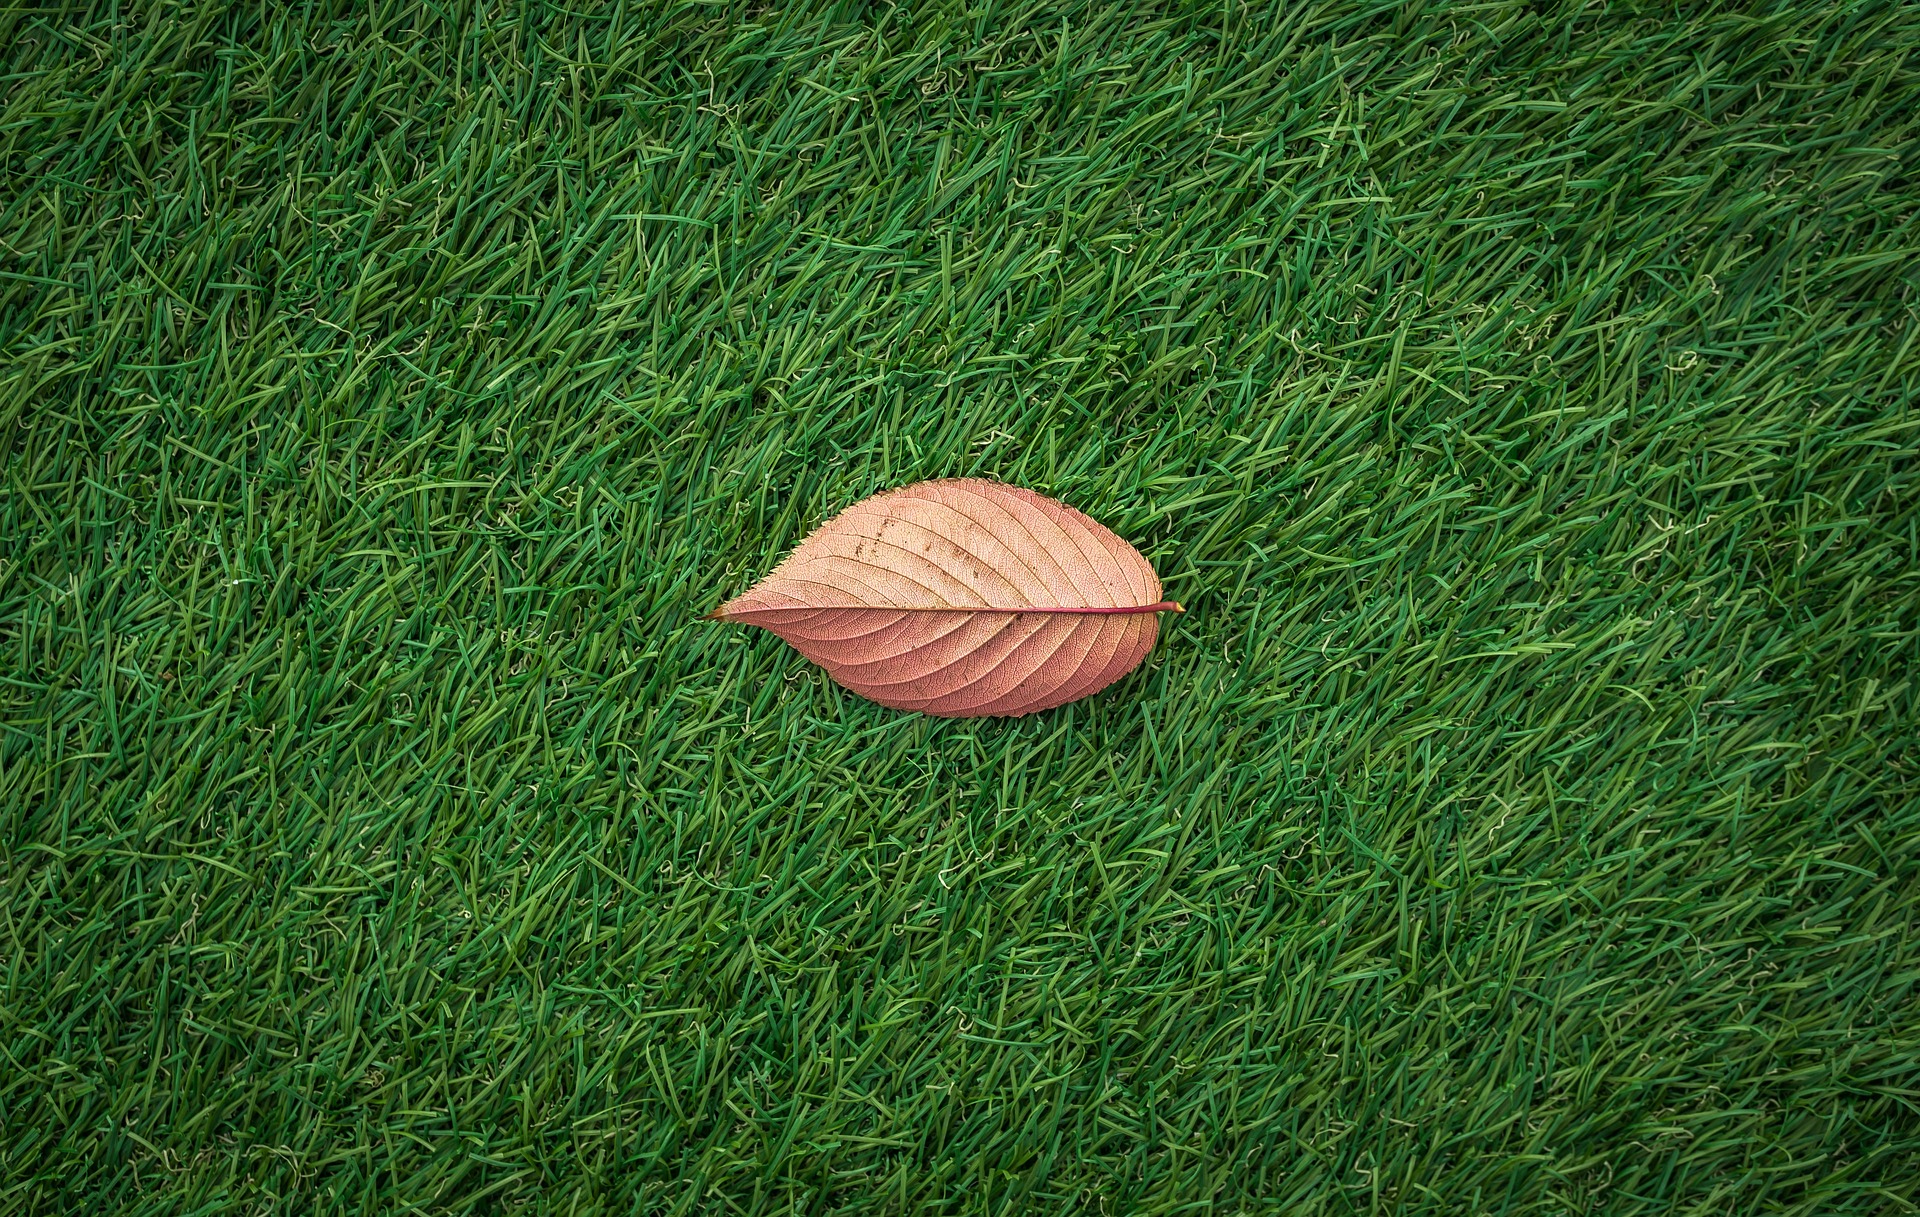
Installing Artificial Grass
You might want to install artificial grass somewhere in your yard, or for your entire yard. It isn’t too difficult to do, but it would be easier for a professional to install the turf than it would be for you to do it. Artificial turf makes your yard look much nicer and is easier to take care of than a natural lawn.
Although installing your artificial grass isn’t too difficult, there are some difficult parts to it. You might want to hire artificial turf installers to help you do the job or to do the complete job for you. This would be the easiest way for you to do that.
Installation of Artificial Turf
If you want to install the turf yourself, you can follow the instructions that are outlined below. You need to follow all the instructions and make sure that you don’t leave out any steps. If you leave out steps, you might have a yard that is blown away in the wind.
- Get Measurements of the Area – Before you even start, you need to take measurements of your yard and make a sketch of how you want it to look. If you are doing the whole yard you could sketch out the entire yard and the placement of the turf. You need to take measurements that are based on the direction of the turf. You must factor in that you will probably have about 20% to 25% waste to account for.
- Setting the Grade and Prepping the Area – You need to grade the area to about 2 ½ inches below grade so that the turf will be even. The area also needs to be free of any root base so that grass, weeds, and other material won’t grow through it: https://www.familyhandyman.com/article/tips-for-installing-artificial-turf-grass/. If there is already grass there, you need to dig down at least 2 ½ inches to get rid of all the grass and the chance for it to grow.
- Spreading Aggregate – You will need to spread aggregate over the area where you wish to place the turf. This is helping to create a sub base for the artificial grass and needs to be at least 2 inches deep. You can use an asphalt rake or landscape rake to spread the aggregate as even as you can get it and to level it. You want to wet the area thoroughly and then you can compact the area with a tamper of some kind.
- Put Industrial Weed Fabric in Place – It is best for you use industrial weed fabric to keep grass and other materials from growing up in between your artificial grass. You will roll the weed fabric over the sub base and fix it to the ground and you will want to secure it with a few landscape nails. You will want to overlap the weed fabric by a couple of inches so that the grass and weeds can’t grow up between it.
- Trim Excess Manufacturing Material – There is always a few extra inches of backing material that is still along the edges of the turf. This needs to be removed before you place it down on the ground. To trim this, you need to turn it over and work from the underneath side. You can use a carpet knife to trim between the second and third rows of turf.
- Roll Out the Turf – Once you have marked and measured your sections, you can roll out the artificial grass. Leave an extra bit of length while you try to position the turf. You will cut that off when you have all the artificial grass in position.
- Cutting Turf Around Odd Shapes – You will want to start in the middle of the odd object such as a rock. Make small slits around the edges of it while keeping the artificial grass right up next to the edge to get it to lay flat without any wrinkles.
- Using Nails – You will use landscape nails to make sure that the edges of the turf are secured around the perimeter. You want to use nails that are about 3 inches to 6 inches long so that you can make sure that it is secure. The best type of nails to use are steel nails or electro galvanized nails because you want them to rust and expand to fill the area. You want them to be placed about every 3 to 4 inches.
- Seaming Two Sections Together – You don’t want to cut the turf to make your seams until you make sure that the fibers are all going the same way. You don’t want to have any overlap, so you need to check and double check the fit. See here to find out how to seam the sections together. You don’t want to make wrinkles or bulges in the seam, so you want to make sure that the fit is perfect. You will place alternating nails along the seam in a zigzag fashion every 1 to 2 inches apart.
- Add Sand Infill – You can use a drop spreader to add the sand infill to the turf. You want to use about 1 ½ to 2 pounds per square foot of silica sand for a standard installation. You would use your drop spreader just as if you were using it to spread fertilizer on real grass.
Conclusion
Placing artificial grass or turf is not that difficult of a process, but you must be precise in what you do. If you don’t do it exactly right, you will have wrinkles and bulges throughout the artificial grass. It might be best for you to hire a professional installer to do the job for you to make sure that it is done correctly.